How to make christmas light arches
How to Make Christmas Light Arches: A Complete Guide for Large Displays
Christmas light arches are a fantastic way to create a captivating and festive atmosphere for both residential and commercial spaces. These large, illuminated structures can be used to decorate streets, shopping malls, events, or even your home’s entrance. In this guide, we’ll show you how to create impressive Christmas light arches, offering various designs and materials to ensure a stunning display.
1. Planning Your Christmas Light Arch
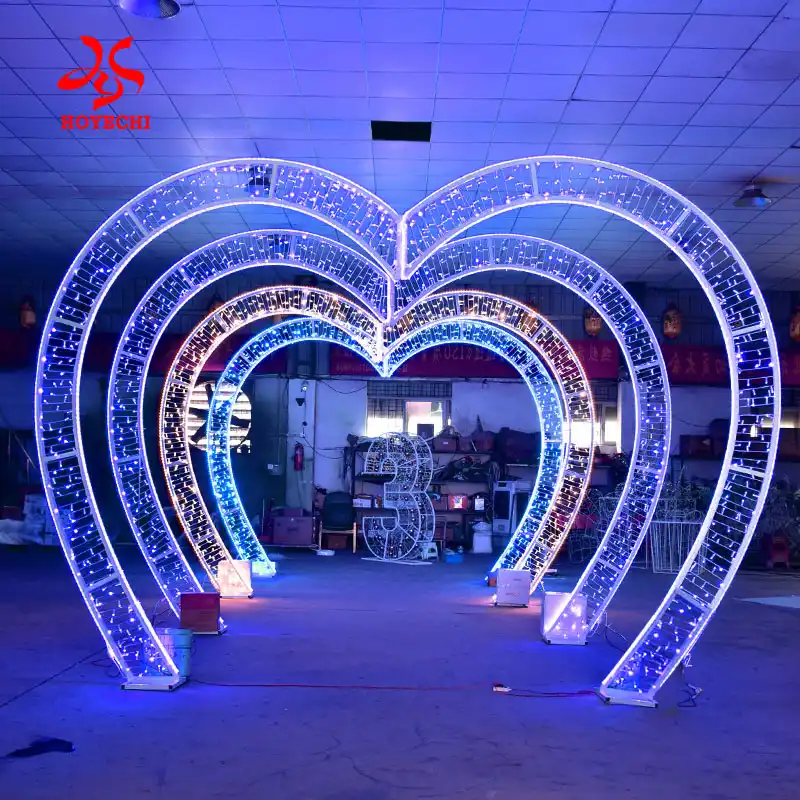
The first step in creating a large Christmas light arch is to plan its size, shape, and location. Whether you’re planning for a heart-shaped arch, a traditional curved arch, or a 3D light arch, understanding the space is crucial for proper placement. Some popular arch designs include:
-
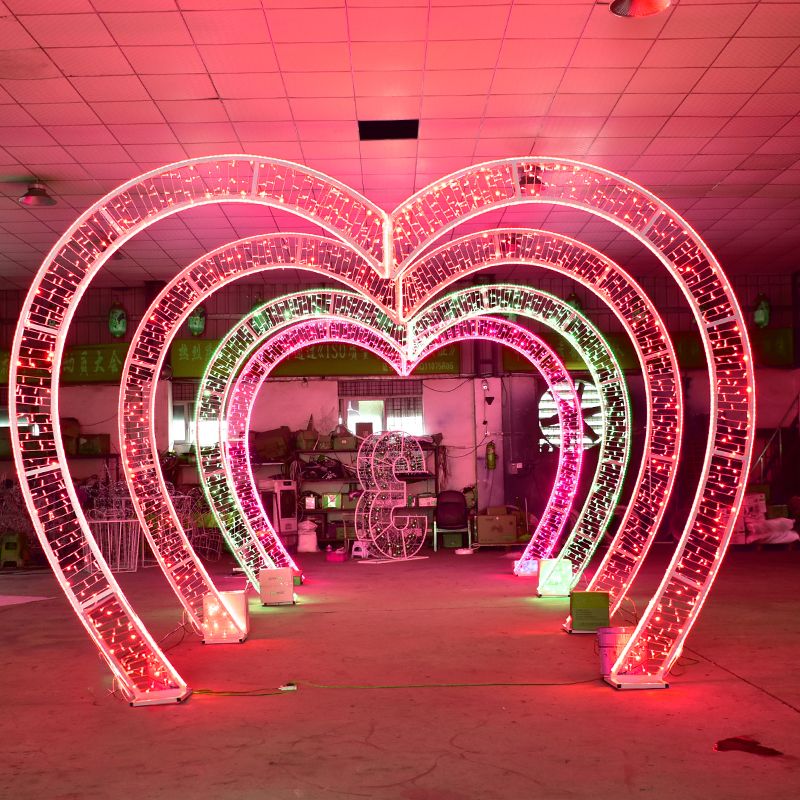
Heart-shaped arches: A festive and romantic design, often used for special events or holiday celebrations.
-
Traditional curved arches: Perfect for classic Christmas scenes, creating a welcoming entrance for streets or plazas.
-
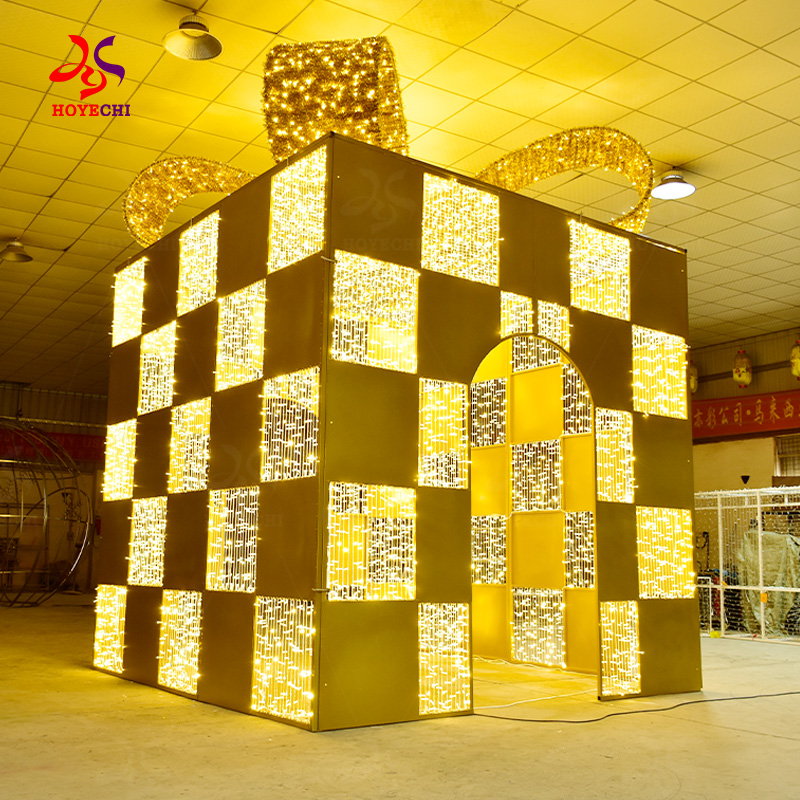
2D and 3D arches: These designs feature dynamic structures that bring extra dimension and vibrancy to your display.
Tip: Make sure your arch is proportional to the space it will be placed in. If it’s too small, it won’t have the same impact, but if it’s too large, it could overpower the surroundings.
2. Selecting the Right Materials
For large Christmas light arches, it’s essential to choose strong and durable materials for the frame. Some of the best options include:
-
PVC pipes: Lightweight and easy to shape, but suitable for smaller arches.
-
Metal rods: Strong and sturdy, ideal for large arches that need to support more weight.
-
Steel frames: Perfect for grand, commercial installations, offering the most stability for larger arches.
Once you’ve selected your material, you can start shaping the frame based on the arch design you want.

3. Choosing the Perfect Lights
For a large light arch to shine brightly and stand out, LED lights are the best option due to their durability, efficiency, and brightness. Here’s what to look for in your lights:
-
Durability: LED lights with durable chips can withstand harsh outdoor conditions, ensuring long-lasting brightness throughout the holiday season.
-
Waterproofing: For arches placed outdoors, choosing waterproof LED lights is essential to protect them from rain and snow.
-
Long lifespan: Look for lights with a 50,000-hour lifespan, so your arch will remain illuminated for years to come.
Tip: You can opt for multi-colored or flashing lights for a more vibrant and festive effect, or choose warm white lights for a more elegant look.
4. Building the Frame
Once you’ve gathered the necessary materials, it’s time to assemble the frame. Here’s how to proceed:
-
Cut the rods or pipes to the required length.
-
Shape the frame into the desired arch design. For traditional arches, create a simple curve; for 3D designs, use more intricate angles.
-
Secure the frame using heavy-duty connectors or welding (for metal) to ensure the structure is strong and stable.
For 3D arches, ensure that you add extra support at the center or key points of the structure to maintain stability.
5. Attaching the Lights
With the frame in place, it’s time to add the lights. Here’s how to do it efficiently:
-
Start from the base of the arch and carefully wrap or drape the lights over the frame, working your way up.
-
Secure the lights with clips, zip ties, or specialty hooks designed for large installations.
-
Make sure the lights are evenly spaced and securely attached to prevent them from sagging or becoming loose.
Tip: For 3D light arches, weave the lights through different layers to create depth, enhancing the dynamic effect of the arch.
6. Powering the Arch
Large Christmas light arches require a reliable power source to light up their full potential. For outdoor arches, you’ll need a weatherproof power supply to avoid electrical issues during wet conditions. Here’s what you need to consider:
-
Plug-in power: For large arches, a standard electrical connection is typically sufficient, ensuring consistent power.
-
Battery packs or solar options: If the arch is located in an area without easy access to electricity, battery packs or solar-powered LED lights can be used for a sustainable solution.
7. Finishing Touches
To make your Christmas light arch even more captivating, consider adding some festive touches:
-
Decorative elements: Add tinsel, ribbons, or other holiday decorations to the arch for extra sparkle.
-
Holiday figures: Incorporate Santa, snowflakes, or reindeer to make the display even more seasonal.
-
Artificial snow: To enhance the wintery effect, sprinkle artificial snow on the base of the arch or on the lights.
Conclusion: Creating a Stunning Holiday Display
Large Christmas light arches are the perfect way to elevate your holiday decorations. Whether you opt for a heart-shaped arch, a traditional curved arch, or a 3D light arch, these structures are sure to draw attention and create a festive atmosphere. By choosing the right materials, lights, and power sources, you can ensure your arch shines brightly all season long.